
Saturday Series: Punch Art Easter scrapbook page, gift bag, and Berry Basket
I am so excited about today's Saturday Series. This little Bunny punch art is very cute!!!When I came up with him I just squealed... I have to say he's pretty darn cute! So today I wanted to share a couple different projects I made using this one Easter bunny punch art. How fun is that?? (when you get to the bottom of this post...you may feel like he's the ever ready bunny...he keeps going, and going!! Hee-hee!
So here's the first two projects:

And here's the scrapbook page:

Aren't those cute... I just loved how they turned out.

I made up a little chart for the Bunny Punch art.

So here's a closer look at each one

For this sweet little bag I started off using the Peitite cafe' bag. These little bags are lined, making it great for treats!! I used white craft ink and a dauber to make the dots. It's just that easy!! I did this step first to allow the ink to dry. Craft ink is wet and gooey, you can actually use it with embossing powder and heat set it. Do you LOVE the bow. I used Crushed Curry Striped 1 1/4" about 3 1/2" long and tied a knot in the center using Calypso Coral Seam binding Ribbon. Oh how I LOVE that!! I used the Banner die and For Peep Sake for the banner. To adhere the grass I simply used Tombow glue and then added our sweet little bunny!!

For our next Easter Treat I used the Berry Basket Die!!! Again I seriously have fallen for this little basket!!

For this little guy I made the same sweet bunny, and added 'hippity-hoppity' from And Many More stamp. Very cute!!
For my scrapbook page, I added our little bunny and a couple 'eggs' out of the small oval punch. Since the bunny was having so much fun....he needed a friend, so a little chick was created!!
Here's a closer look at the first page:

This is a clean scrapbook page, meaning not to overwhelming with too many details, but cute to accent your photo's.


Here is the 2nd page:
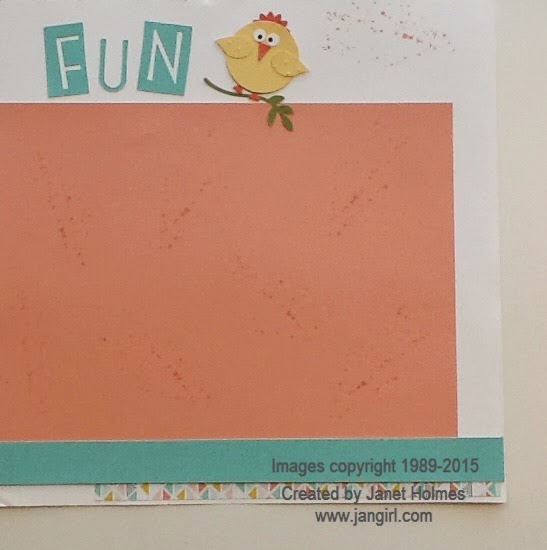
I think FUN says it right....tooo fun!!

Here's the recipe to make the chick

We made these in class, here's some of our group having fun with their treats:

We were laughing and having FUN...hard to believe...I know!!

Have a great day!! I hope you enjoyed today's Saturday Series... I sure did!! :))

I am so excited about today's Saturday Series. This little Bunny punch art is very cute!!!When I came up with him I just squealed... I have to say he's pretty darn cute! So today I wanted to share a couple different projects I made using this one Easter bunny punch art. How fun is that?? (when you get to the bottom of this post...you may feel like he's the ever ready bunny...he keeps going, and going!! Hee-hee!
So here's the first two projects:
And here's the scrapbook page:
Aren't those cute... I just loved how they turned out.
I made up a little chart for the Bunny Punch art.
So here's a closer look at each one
For this sweet little bag I started off using the Peitite cafe' bag. These little bags are lined, making it great for treats!! I used white craft ink and a dauber to make the dots. It's just that easy!! I did this step first to allow the ink to dry. Craft ink is wet and gooey, you can actually use it with embossing powder and heat set it. Do you LOVE the bow. I used Crushed Curry Striped 1 1/4" about 3 1/2" long and tied a knot in the center using Calypso Coral Seam binding Ribbon. Oh how I LOVE that!! I used the Banner die and For Peep Sake for the banner. To adhere the grass I simply used Tombow glue and then added our sweet little bunny!!
For our next Easter Treat I used the Berry Basket Die!!! Again I seriously have fallen for this little basket!!
For this little guy I made the same sweet bunny, and added 'hippity-hoppity' from And Many More stamp. Very cute!!
For my scrapbook page, I added our little bunny and a couple 'eggs' out of the small oval punch. Since the bunny was having so much fun....he needed a friend, so a little chick was created!!
Here's a closer look at the first page:
This is a clean scrapbook page, meaning not to overwhelming with too many details, but cute to accent your photo's.
Is he cute???
For the letters I used the Perfect Print Dies, and used the negative on some letters to give a little pizazz.
The leaf is from the bird punch.
Here is the 2nd page:
I think FUN says it right....tooo fun!!
Here's the recipe to make the chick
We made these in class, here's some of our group having fun with their treats:
We were laughing and having FUN...hard to believe...I know!!
Have a great day!! I hope you enjoyed today's Saturday Series... I sure did!! :))


