Showing posts with label Saturday Series

On Saturdays I like to post what I call Saturday Series. Which is where I like to take one product and showcase it several ways. Well the last couple of days here in Texas have been a little rough, where everyone is glued to the TV to see about the hurricaine. We live several hours from the eye of the storm, but its hard to watch it unfold. So today I wanted to showcase some TEXAS ideas!! As I was making this scrapbook page and card, I was singing "God Bless Texas!" so if you wanna hum along, so ahead!! :)))


What do you think... pretty cute right!! I thought so!!

Here's a closer look at the scrapbook page.


I really liked the colors, very warm and so TEXAN!! I wanted to show you a closer picture of the pocket and heart, they kinda steal the show!


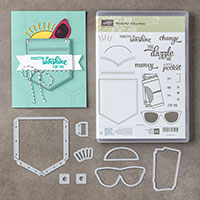
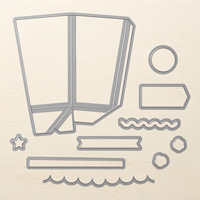
To make the pocket, I first started out with a piece of Whisper White cardstock. I used the foam brayer and added Night of Navy Ink, until I got the desired 'denim' look I was going for. I wanted it to look faded, so the brayer did the trick. If you haven't tried the new foam brayer, it's pretty easy and to me it seemed easier to control the amount of color. After I used the brayer, I then cut it out using the Pocket Framelits. I tried a couple different colors for the stitching on the pocket....Real Red did the trick!! LOVE it!!


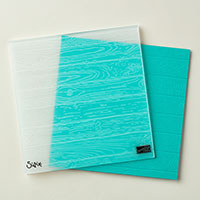
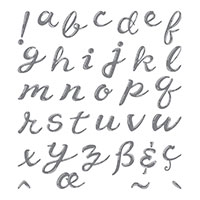
Here's the 2nd page. How much fun is this scrapbook page!! So I made the heart using the Sweet and Sassy Heart Framelits. I cut 3 hearts out of Night of Navy, Real Red and Whisper White cardstock, I then layered and cut them so they resemble the Texas flag!! I really love how this turned out. For the title "Hey Ya'll"  I used the Hand Lettered Alphabet Stamp. This was sooo easy to line up because it's a photopolymer set, and you can see right through it. After I stamped the title I then embossed it with the Pinewood Planks embossing folder. I daubed it with Soft Suede.
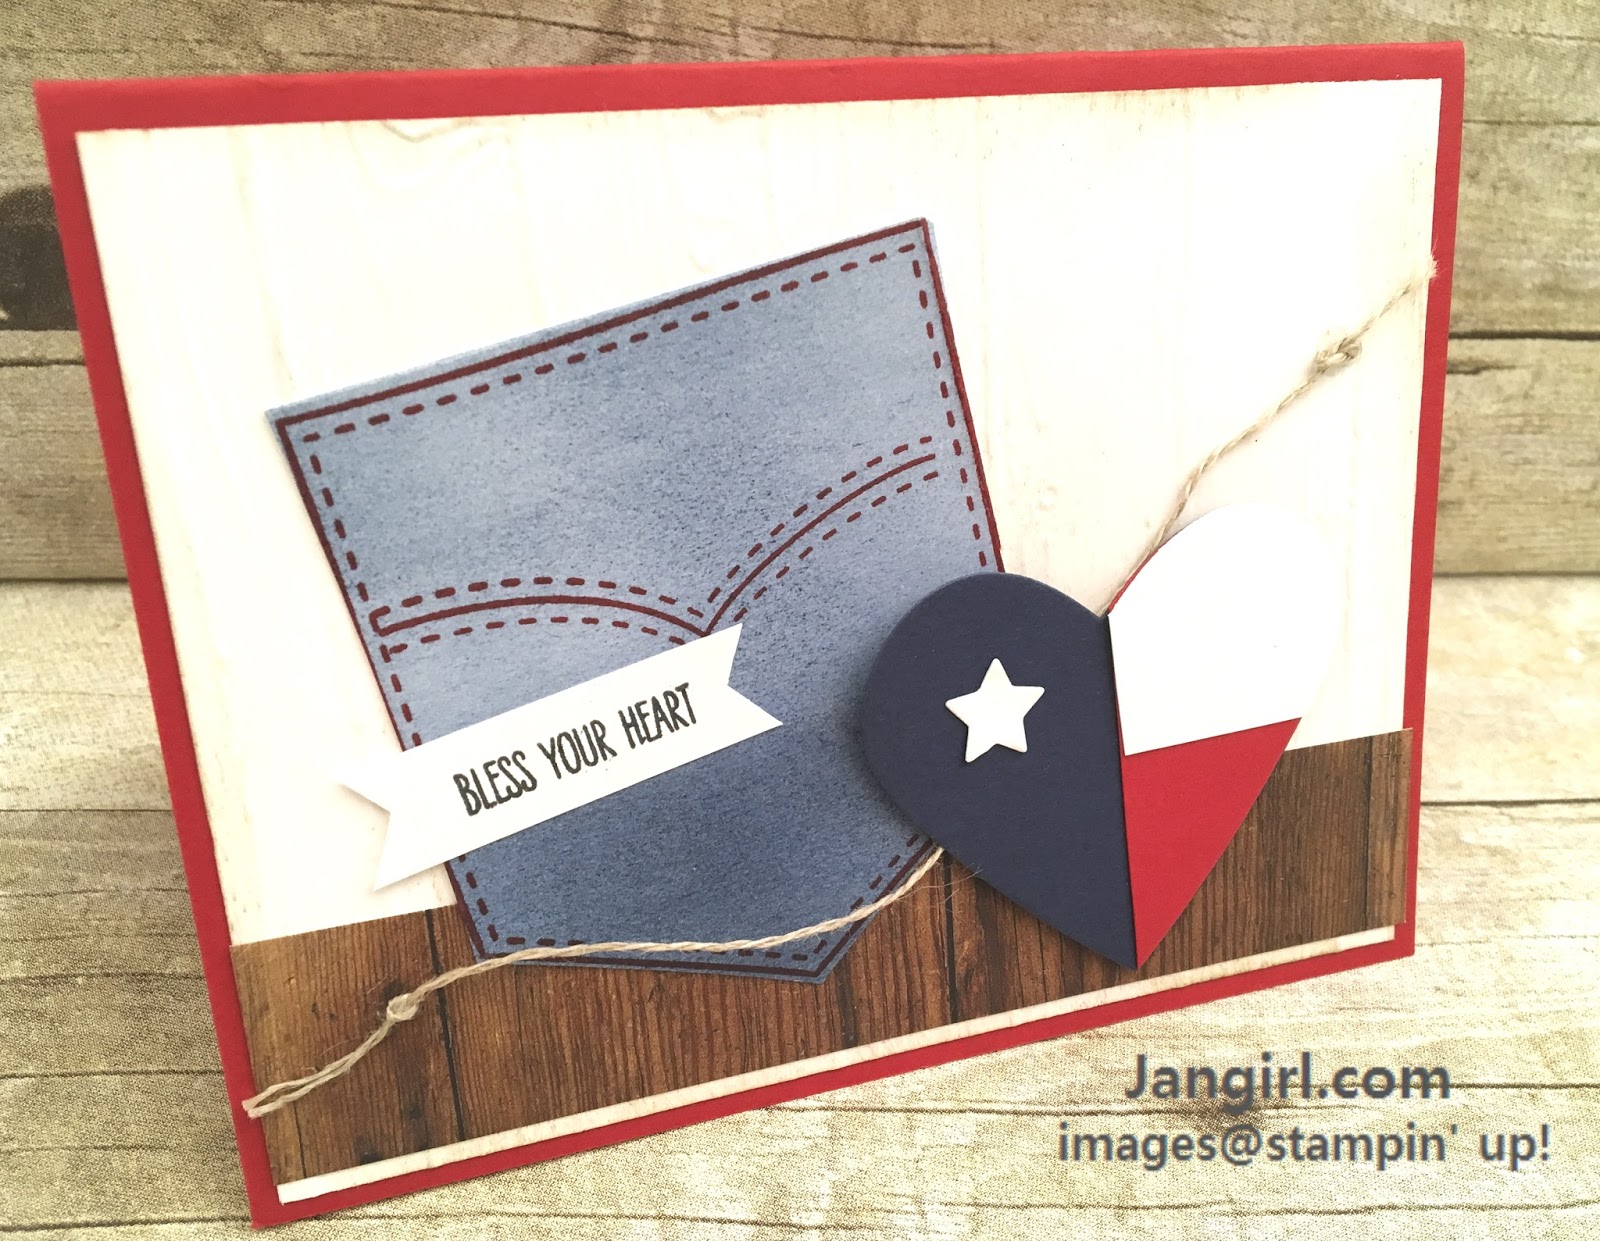


Here's a card I made. I really like how this turned out. This would be a perfect card for those effected by the storm, or a birthday or just thinking of you!!


Here's a fun treat I made, filled with candy coated nuts!! Yum!!!

I hope you have enjoyed this and feel inspired!!
Have a blessed day!!


post signature
Saturday Series: One in a Melon

I am so excited about this month's Paper Pumpkin!! It's right up my alley! It's really perfect  timing for these hot summer days in Texas, doesn't  some nice cold watermelon sound good?  Yum!!! On Saturday's I like to showcase one product used in several different ways, so I hope you enjoy what I came up with from this month's Paper Pumpkin. I made a scrapbook page and a card-completely different than the provided instructions and a fun treat bag.

First, here's a video from Stampin' Up about this month's Paper Pumpkin.


Now you can see why I was so excited. Well here is what I came up with from my kit.


Are those colors great or what!!


To make this card, I simply cut the  original card in half, and put a mat of Melon Mambo cardstock behind it.  I used the new 2 1/4" circle punch to punch the watermelon rind. I then stamped the watermelon and punched it put as well. I used the circle tag that came in the kit and added the word 'friend' from the Lovely Words thinlits.  Of course the sentiment that came in the kit, was perfect for this card!!  Pretty fun and quick!


Here's the bag I made. This went together in a snap, there was adhesive in place ready to go! I added the pineapple and made my watermelon like I did in my card.  I love the little clothespin, it just finishes it off! What a fun bag!


This is what I put in my bag, a perfect summer gift!!


Here is my scrapbook page!! I just love how it turned out!! I have been scrapbooking since 1996, and have NEVER put tissue paper on a scrapbook page, but it was easy!! I adhered the tissue paper to a piece of Melon Mambo to add stability and I smoothed it out to get the wrinkles out! I was so excited how clean the tissue paper looks! I also used a couple of tags from the Paper Pumpkin kit, to make my title pop and to add a little journaling spot!


I have just fallen in love with the way the tissue paper worked here. I made the watermelons with the tissue paper too!!


I can't wait to put some pictures on this page!!!

I hope you enjoyed my alternate projects I made with this month's Paper Pumpkin. Need info about Paper Pumpkin, click on the Paper Pumpkin icon, on right hand side of my blog!! It's like Christmas every month, a great gift idea for you or someone else!! I send my mom one every month, she loves it!

Have a great day!! Thank you for stopping by today!! Come back soon as I will be posting more regularly, my life has settled down a little!!


post signature

Saturday Series: T-Shirt Builder

On Saturdays I like to share ideas that use a specific stamp or theme!! So I have finally caught up from the holidays and knew what I was gonna do for this Saturday Series!! I am so excited about the Dallas Cowboy game today!! I have been a Cowboy fan since I was a little girl, and dreamed of being a Dallas Cowboy Cheerleader. So how awesome is it when your team makes it to the play-offs, first time in about 20 years!! All this excitement made me grab the T-shirt Builder stamp set and get busy!! So to capture this moment I made some treats and a scrapbook page. I hope you like it!!


How fun is that??


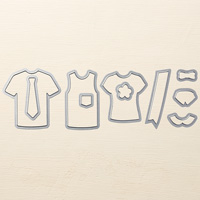
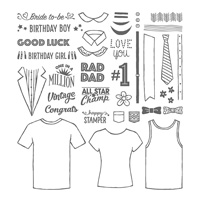
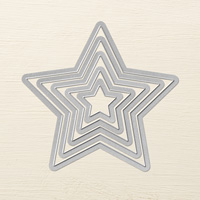
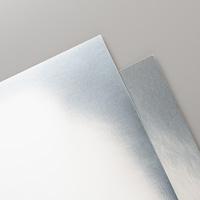
The Scrapbook page is a pretty simple design, So I have space for all those victory pictures!! To make this page, I used the Star Framelits to make the stars and layered the stars using Silver Foil and Night of Navy. I stamped the Night of Navy background with the #1 from the T-Shirt Builder stamp set. To make the Cowboy shirt I printed "Cowboys" out on my computer on Whisper White cardstock, then I stamped the shirt with Smoky Slate. This stamp set is photopolyer (see through) so that made it so easy to line up. I added  the small star on the shirt from the Popcorn box thinlit set.


Here's a closer look at the right lower corner of the page!! Super fun!!!


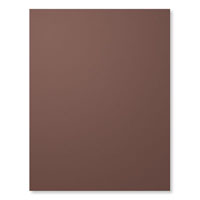
Tell me this isn't the cutest popcorn box you have ever seen!!! I just squealed when I was done!!! I cut the Popcorn box out of Chocolate Chip cardstock, using the Popcorn thinlit. To make the "stitches" I just cut small strips of Whisper White and adhered them on there.  To make the star, I used the Star Framelits and layered them to cut out the center. 

***if you haven't ever used the Popcorn Box thinlit, it cuts and scores for you. All you have to do is assemble!! Quick and easy!!


No football party is complete without chocolate!! I found these chocolates at Party City and they match perfectly!! I used the 2 x 8 bags and a fun tag!! I just love these!! I made 12 of them!! How fun is that!! I used the Metallic Ribbon that is FREE right now with a $50 order, right now during Sale-a-bration!!!  Who doesn't like FREE!!


Lined up like this, kinda looks like a defensive line!!!  ha-ha!!

I hope you liked these!! What makes this so great is even if you're not a Cowboy fan....there may be a couple of you out there!! ha-ha!! Just change up the colors and name and have some fun with game days!!!


Here are the supplies I used!!
Have a great day, hope you feel inspired!!

Click here to check out all the items FREE during Sale-a-bration!!


post signature

Saturday Series: Cookie Cutter Christmas Reindeer card, treat and tag

I am so excited to share these cute Christmas ideas. I haven't posted on my blog in a while-life has been busy!! But I am back!! The holiday catalog went live on the 1st and it is spectacular!!! On Saturday's I like to showcase a particular item (stamp, paper, or accessory) and use it several different ways. 

Here is my 1st Christmas share from the holiday catalog:


How cute is that??  I used the reindeer cookie cutter for all these, there is actually a gingerbread man, eskimo, bear, and santa on that set as well.


How sweet is that tag?? I love the Red Glimmer paper for the nose!!! I used the owl punch for the nose, too fun!! The "to and from" are also from the Cookie Cutter stamp set.  Did you notice the printed paper at the bottom....oh my...one of my favorites!! It's the Candy Lane Designer Series Paper.


For this cute lil' reindeer treat, I used the new Cheerful Tag Framelits...and let me just say... I'm in LOVE!! Very easy to use and wow it does all the work for you.  It is actually meant to make tags, but I opened it up and made a tag topper!! This framelit cuts, scores-and you are done!!! I used the bow part on the Cookie Cutter builder punch, and also used the owl punch for the nose!! I used my computer to generate the wording! I used chocolate covred nuts for the brown noses, the red one is a jelly bean.  :)  I googled it and their is actually 9 reindeer, including Rudolph!!!


I just love how this card turned out.  The designer paper I used here is from the Annual Catalog, called The Christmas Specialty paper. I thought the sentiment went great here, kinda fun like the card.  It's from Stitched with Cheer.  I had some fun building the santa hat here, using the new Jolly Hat Builder!! I tell ya what, Stampin' Up hit it out of the park with the new catalog!!! I had to use the new jingle bell too!!

I wanted to share a trick with you on how to save paper. Did you notice the hat and the striped paper are the same?? Well I cut the hat out of the paper and then used it behind, this saves paper and know one will ever know....just you me and the elf!!! Hee-hee


I hope you enjoyed this fun set!!! Have a great night, be sure to click here to order.

If you would like to check out the new catalog, click on the catalog on the right side of this post.


post signature
Saturday Series: Playful Palette Washi Tape and Oh Happy Day cards

On Saturdays I like to share ideas using one product a couple different ways. So today, I wanted to use the new Playful Palette Washi tape paired with the stamp set Oh Happy Day. This is the CUTEST stamp set, it is included in the Oh Happy Day Kit. These turned out cute and fun, let's see if they make you happy!! (or a least a smile to your day!!)  :))


Are those cute or what??


I think this card is soooo fun!! I stamped the words kinda cattywampus!! The 'miss you' and 'I just' are two stamps from the Oh Happy day kit, that I thought looked kinda fun in that arrangement!! What do you think??  For this card I put the Washi Tape at angle, and built my card from there!! I tucked a scrap of Emerald Envy ribbon under the flower to give it a little 'stem'.  I really think this turned out cute!!


This card turned out clean and simple!! I tried different layers of the Washi Tape, and this to me was the trick!! Bright and happy!!


I love, love this card!! When I saw that 'Hi' stamp, I knew it was gonna find it's way into the center of my flower!!  :))  I punched the 'hi' out using the 3/4" circle punch. I also took the Basic Black marker and went around the edge, to help it pop!! I just couldn't stand myself ....so I had to put a rhinestone on the 'i' in hi and in friend!! AHH!! That brought a smile to my face!!

I wanted to share this picture of the stamp set that comes in the Oh Happy Day kit, it is very cute!!! It's a fun stamp set, so after you make your kit, then you have a great stamp set to use!!! It's like double the fun!


Thanks for stopping by! I know it has been awhile since I have posted in Saturday Series, so I hope you enjoyed!! My sweet hubby is doing better, had surgery earlier this week, I hope this is it for us!!

Here are the items I used:


Have a blessed day!!

post signature
© Jan Girl · THEME BY WATDESIGNEXPRESS